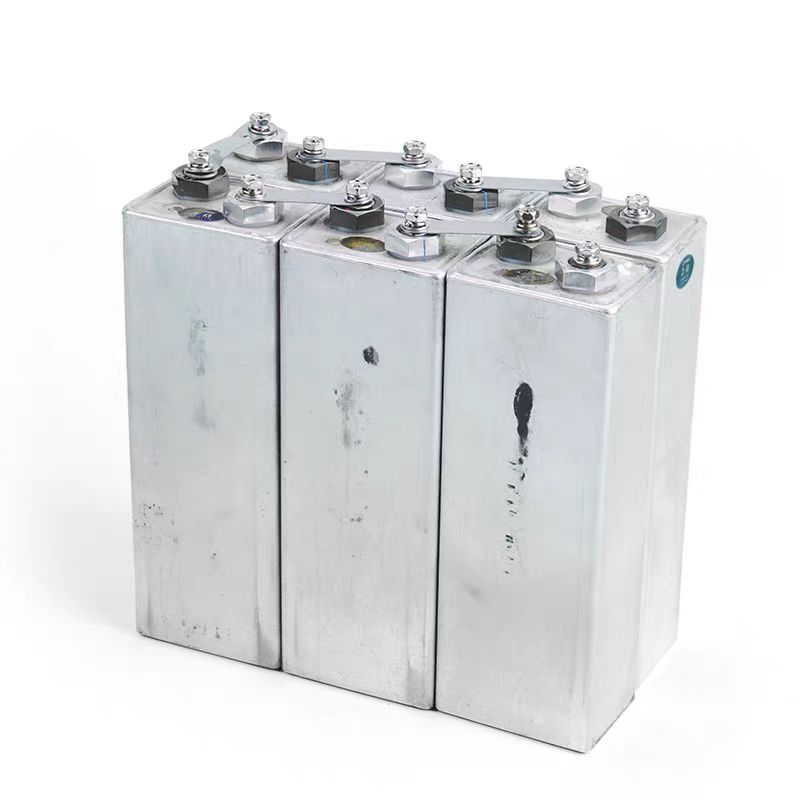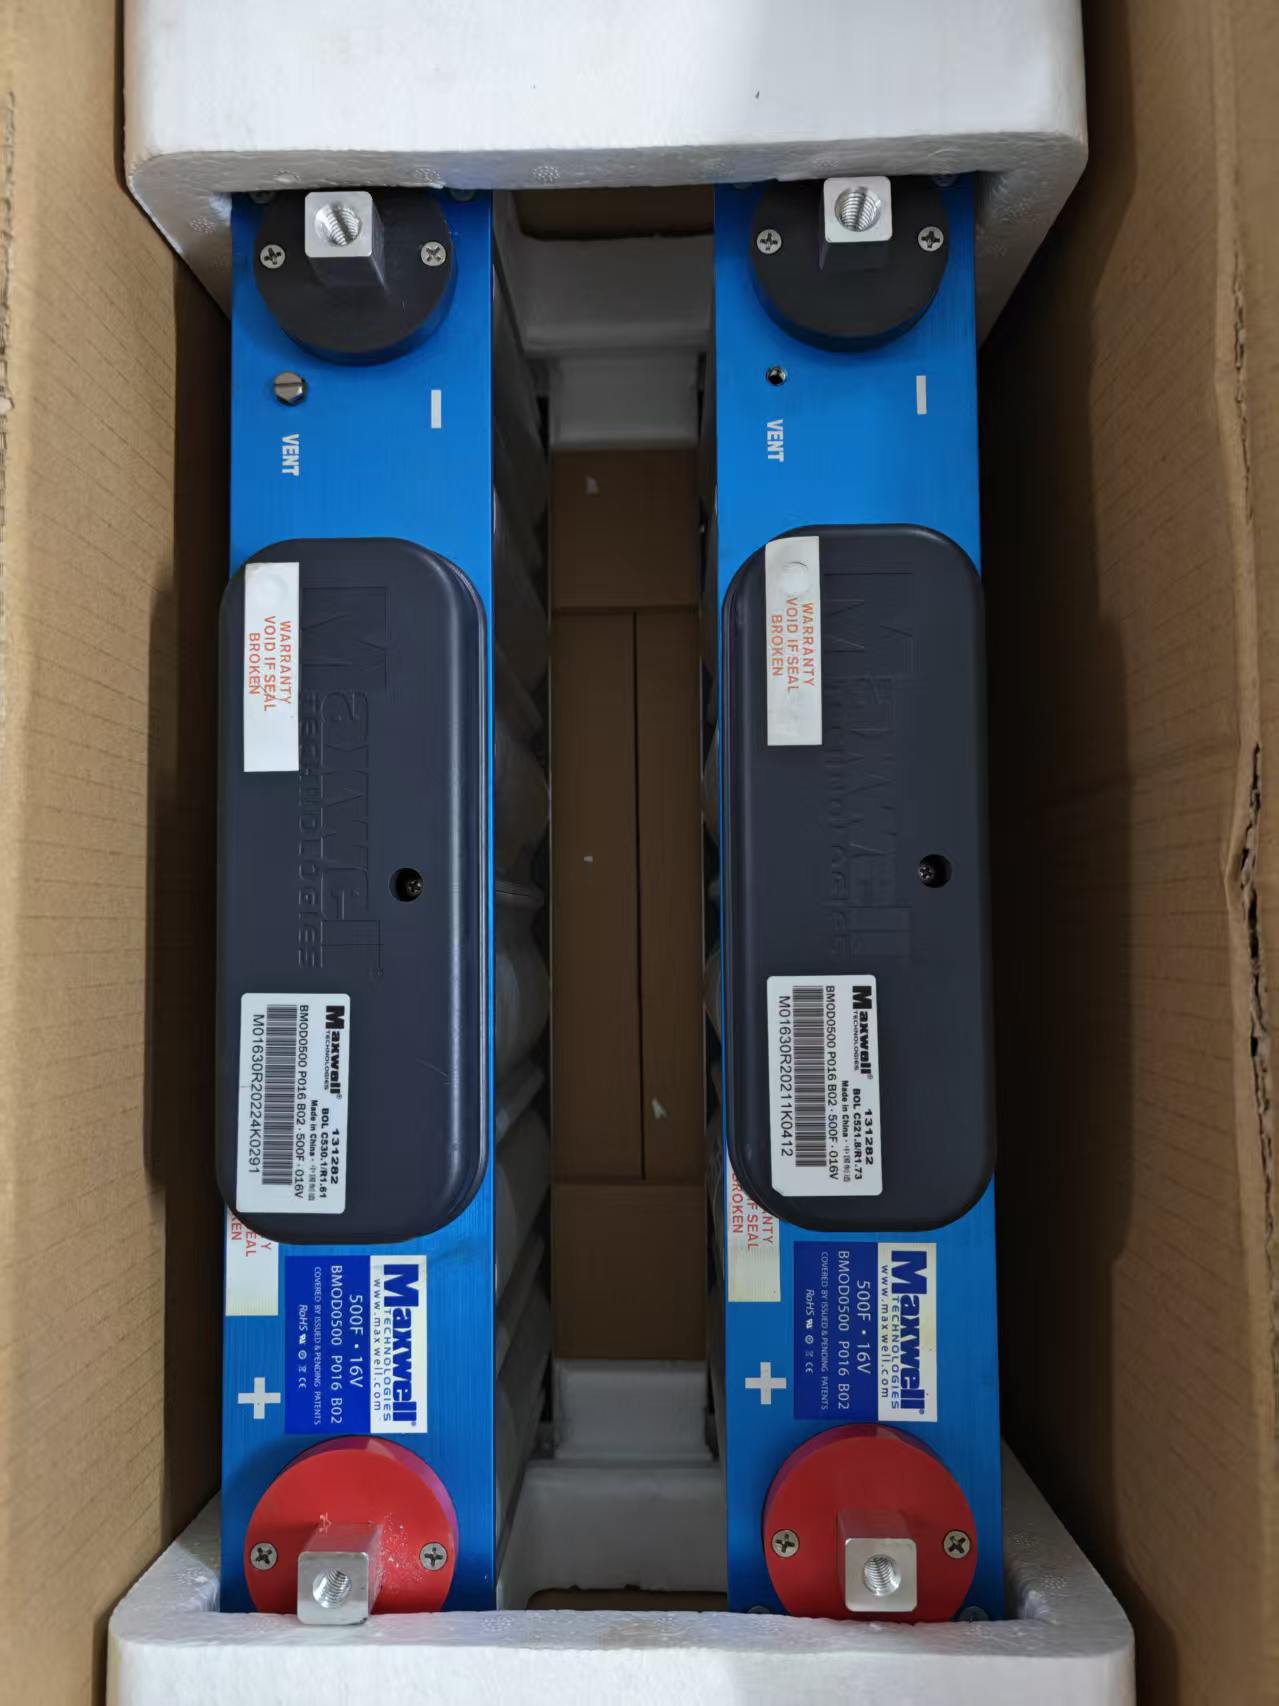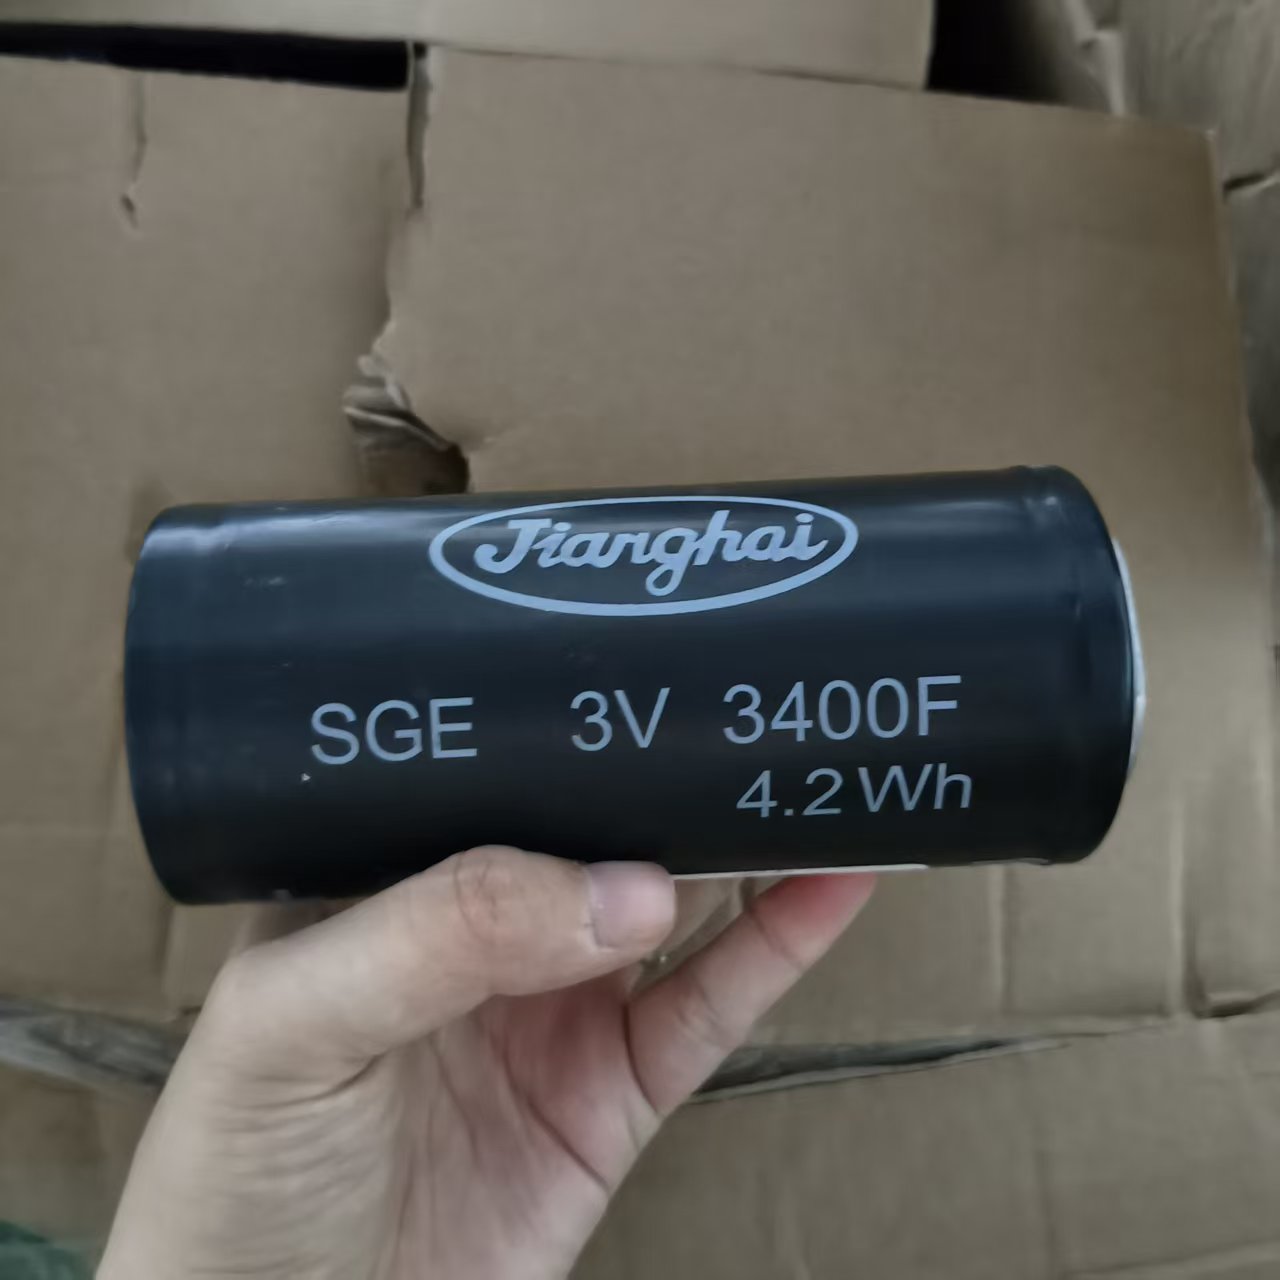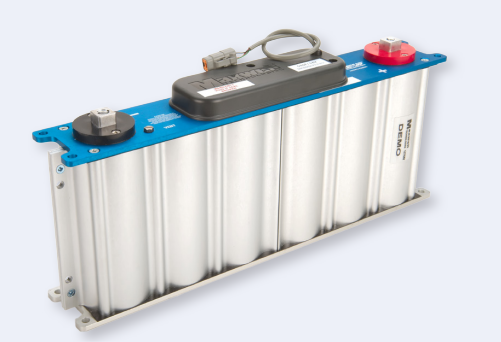
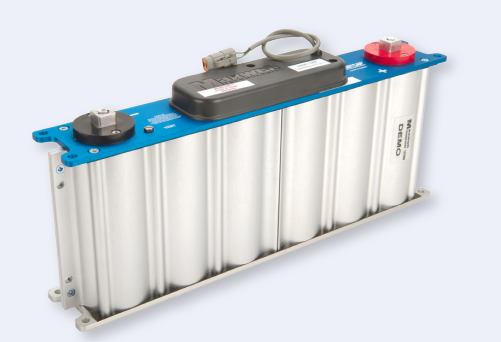
Buying used EDLC supercapacitors can save 40–60% compared to new units, but only if the cells are properly tested and verified. Unlike batteries that degrade predictably, supercapacitors can fail silently due to overvoltage events, manufacturing defects, or improper storage. In this guide, we walk through the complete testing procedure we use at XDXT Electronics for every used supercapacitor before shipment.
Why Testing Used Supercapacitors Matters
Supercapacitors are extremely durable (500,000+ cycles), but they are not indestructible. Common failure modes in used units include:
- Capacitance fade — Loss of 20%+ capacitance due to electrolyte degradation or electrode damage
- ESR increase — Internal resistance rising above specification, reducing power delivery and increasing heat
- High leakage current — Increased self-discharge due to internal short circuits or electrode damage
- Physical damage — Dented cans, broken terminals, electrolyte leakage, or swollen cells
- Voltage rating degradation — Cells that can no longer hold rated voltage safely
A cell that passes a simple voltage check may still have hidden defects that cause premature failure in your application. Comprehensive testing is essential.
Test Equipment Required
- DC power supply — Adjustable 0–5V, current limiting (minimum 5A)
- Electronic load — Capable of constant current discharge (10A+ recommended)
- Digital multimeter — 4.5-digit resolution, capable of milliohm measurement
- LCR meter — For ESR measurement at 1kHz (optional but recommended)
- Stopwatch or timer — For capacitance and leakage current tests
- Thermometer or thermal camera — For monitoring cell temperature during testing
- Safety gear — Insulated gloves, safety glasses, fire extinguisher (Class D for lithium if testing hybrid cells)
Step 1: Visual and Physical Inspection
Before any electrical testing, perform a thorough visual inspection:
- Check the can — Look for dents, bulges, cracks, or corrosion. Any swelling indicates internal gas generation and the cell should be rejected.
- Inspect terminals — Ensure terminals are clean, tight, and free of corrosion. Loose terminals increase ESR and can cause arcing.
- Check for electrolyte leakage — Look for white or green residue around the seal or terminals. Electrolyte leakage means the cell is compromised.
- Verify markings — Check voltage rating, capacitance, polarity, and manufacturer markings. Reject cells with removed or altered markings.
- Measure dimensions — Compare to manufacturer datasheet. Significant dimensional changes indicate internal damage.
Reject criteria: Any visible damage, swelling, leakage, or altered markings = reject immediately.
Step 2: Open Circuit Voltage (OCV) Check
Measure the cell's open circuit voltage after it has been sitting for at least 24 hours:
- Set multimeter to DC voltage range
- Connect positive lead to positive terminal, negative to negative
- Record the voltage reading
Interpretation:
- 0V — Cell may be fully discharged or internally shorted. Reject if voltage does not rise during charging.
- 0.1–1.0V — Deeply discharged. May be recoverable but proceed with caution.
- 1.0–2.5V — Normal self-discharge range for stored cells.
- 2.5–2.7V — Near full charge, low self-discharge (good sign).
- >2.7V — Overcharged. Reject if voltage exceeds rating by >5%.
Step 3: Capacitance Measurement
Capacitance is the most important parameter. Measure using the constant current discharge method:
- Charge the cell to rated voltage (2.7V for standard cells) at constant current (1C rate or less). Hold at rated voltage for 30 minutes to ensure full charge.
- Rest for 5 minutes to allow voltage stabilization.
- Discharge at constant current (I) from rated voltage down to half rated voltage (1.35V).
- Record time (t) for the discharge from V_max to V_min.
- Calculate capacitance: C = I × t / (V_max − V_min)
Example: A 3000F cell discharged at 30A from 2.7V to 1.35V takes 130 seconds. C = 30 × 130 / (2.7 − 1.35) = 3900 / 1.35 = 2889F. This is within 96% of rated 3000F — acceptable.
Pass criteria: Capacitance ≥ 80% of rated value. Below 80% = significant fade, reject for most applications.
Step 4: ESR (Equivalent Series Resistance) Measurement
ESR determines the cell's power delivery capability. Higher ESR = more heat = lower efficiency.
Method 1: LCR meter (preferred)
- Set LCR meter to 1kHz, series resistance mode
- Connect to cell terminals (4-wire Kelvin connection for best accuracy)
- Record ESR reading
Method 2: Current step method (without LCR meter)
- Charge cell to rated voltage
- Apply a sudden current load (e.g., 10A)
- Measure the instantaneous voltage drop (ΔV) within the first 10ms
- Calculate: ESR = ΔV / I
Pass criteria: ESR ≤ 150% of manufacturer's rated value. For a typical 3000F cell (rated ESR ~0.25mΩ), pass if ≤ 0.38mΩ.
Step 5: Leakage Current Test
Leakage current indicates internal self-discharge. High leakage = internal short = dangerous.
- Charge cell to rated voltage at constant current
- Once rated voltage is reached, switch to constant voltage mode
- Hold at rated voltage for 30 minutes
- Record the current required to maintain rated voltage after 30 minutes — this is the leakage current
Pass criteria: Leakage current ≤ 200% of manufacturer's specification. For a typical 3000F cell (rated leakage ~5mA), pass if ≤ 10mA.
Warning: If leakage current continues to rise or exceeds 50mA, the cell may have an internal short. Disconnect immediately and dispose of properly.
Step 6: Temperature Monitoring
Throughout all tests, monitor cell surface temperature:
- Normal — Temperature rise < 10°C above ambient during charge/discharge
- Caution — 10–20°C rise. Cell may have higher ESR, derate in application
- Reject — >20°C rise, or any cell that gets hot to the touch (>50°C). Indicates internal damage or high ESR.
Our Testing Process at XDXT Electronics
Every used supercapacitor we sell undergoes all six tests above. We provide a test report with each batch showing:
- Capacitance measurement (actual value, % of rated)
- ESR measurement (actual value, % of rated)
- Leakage current (actual value)
- Visual inspection results
- Temperature during testing
- Pass/fail determination
We only ship cells that pass all criteria. Our used stock typically measures 90–98% of rated capacitance and 100–120% of rated ESR — nearly as good as new at 40–60% lower cost.
Conclusion
Testing used supercapacitors is essential to ensure safety and reliability. By following this six-step procedure — visual inspection, OCV check, capacitance measurement, ESR measurement, leakage current test, and temperature monitoring — you can confidently evaluate whether used EDLC cells are suitable for your project. At XDXT Electronics, we perform all these tests on every used supercapacitor before shipment, so you can buy with confidence.
Looking for tested used supercapacitors? Contact us via WhatsApp for current stock availability, test reports, and wholesale pricing.